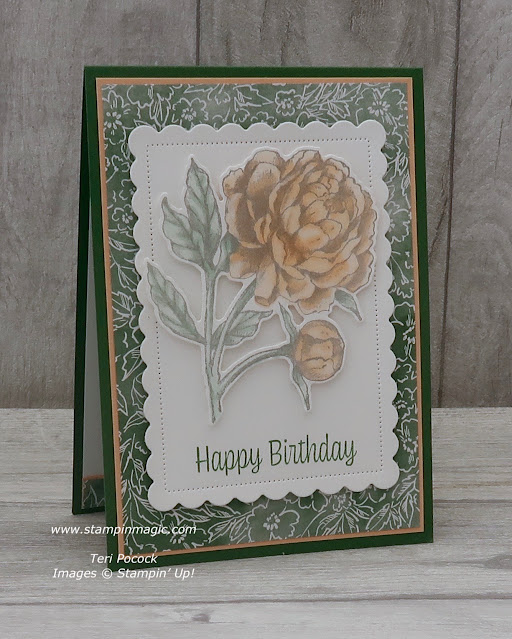
Today I'm sharing another Fancy Fold Card. This one is called a Miura Fold Card. The basic design is very easy to create - but the decorating does take some time.
I used the Boughs & Blossoms stamp with the coordinating Bough punch. I also used papers from the Pattern Party Designer Series Paper pack. This paper pack is only available to buy with Hostess Rewards - which you earn when you host a party or place a larger order (£150).
The paper pack is a great price for 48 sheets of double sided 12"x12" papers. One side has Black and White designs and the other side has lovely bright colours.

I kept with the monochromatic look for my first card. I learned a lot while creating it too.
It's best not to measure the papers to try and get the angle cuts correct. If you are out a little with the scoring this can make them 'way off' in the fit. In the end I positioned the paper, marked it with a pencil and then cut it.
I used three strips of paper - one for each panel. Each strip was 3⅞" wide because I like a narrow border around my card. If you would like a wider border showing, just cut the papers 3¾" wide - or even less.
On the back there is a panel to write your message.
The card will fold to 6" x 4" and will fit into our standard C6 envelopes here in Europe. It will not fit into the US standard A2 envelopes though.
Here is the card fully opened out.
Because I made this version of the card quite bulky with all the decoration, I created a Box to hold it. You can find the instructions for this size Box HERE.
And here you can see what the card looks like using some of the reverse designs in the same paper pack. I love the bright colours!
All the stamped images were cut out by hand. This was really quick and easy to do for most of them. The two Crushed Curry fronds on the front panel were the only fiddly ones!
The Basic White circle has been embossed using one of the Stripes and Splatters 3D folders.
This is such a pretty card. I love how the top Flower peeks out onto the front when the card is closed.
And ... fully opened.
I created a Box for this one too :o)
Here is the Video for the Miura Card ...
Measurements
Poppy Parade 12” x 6”
With the LONG side across the TOP, score down at 4” and 8”
On the FIRST score line mark 2” DOWN from the TOP edge
On the SECOND score line mark 2” UP from the BOTTOM edge
Poppy Parade 6” x 4”
Pool Party 5⅞” x 3⅞”
Basic White 5¾” x 3¾”
Strips of Designer Series Paper - 3⅞” wide or 3¾” if you would like a larger border
You will need extra Basic White, Shaded Spruce, Granny Apple Green and Poppy Parade card to complete this project.
Find Me On Facebook
Follow Me On Pinterest
Subscribe To My YouTube Channel
Supplies Used
If you are in Europe (UK, DE, FR, NL or AT ) you can purchase any of the products below through me in my Online Store. Click on any of the links to take you directly to that item.
Follow Me On Pinterest
Subscribe To My YouTube Channel
Supplies Used
If you are in Europe (UK, DE, FR, NL or AT ) you can purchase any of the products below through me in my Online Store. Click on any of the links to take you directly to that item.


